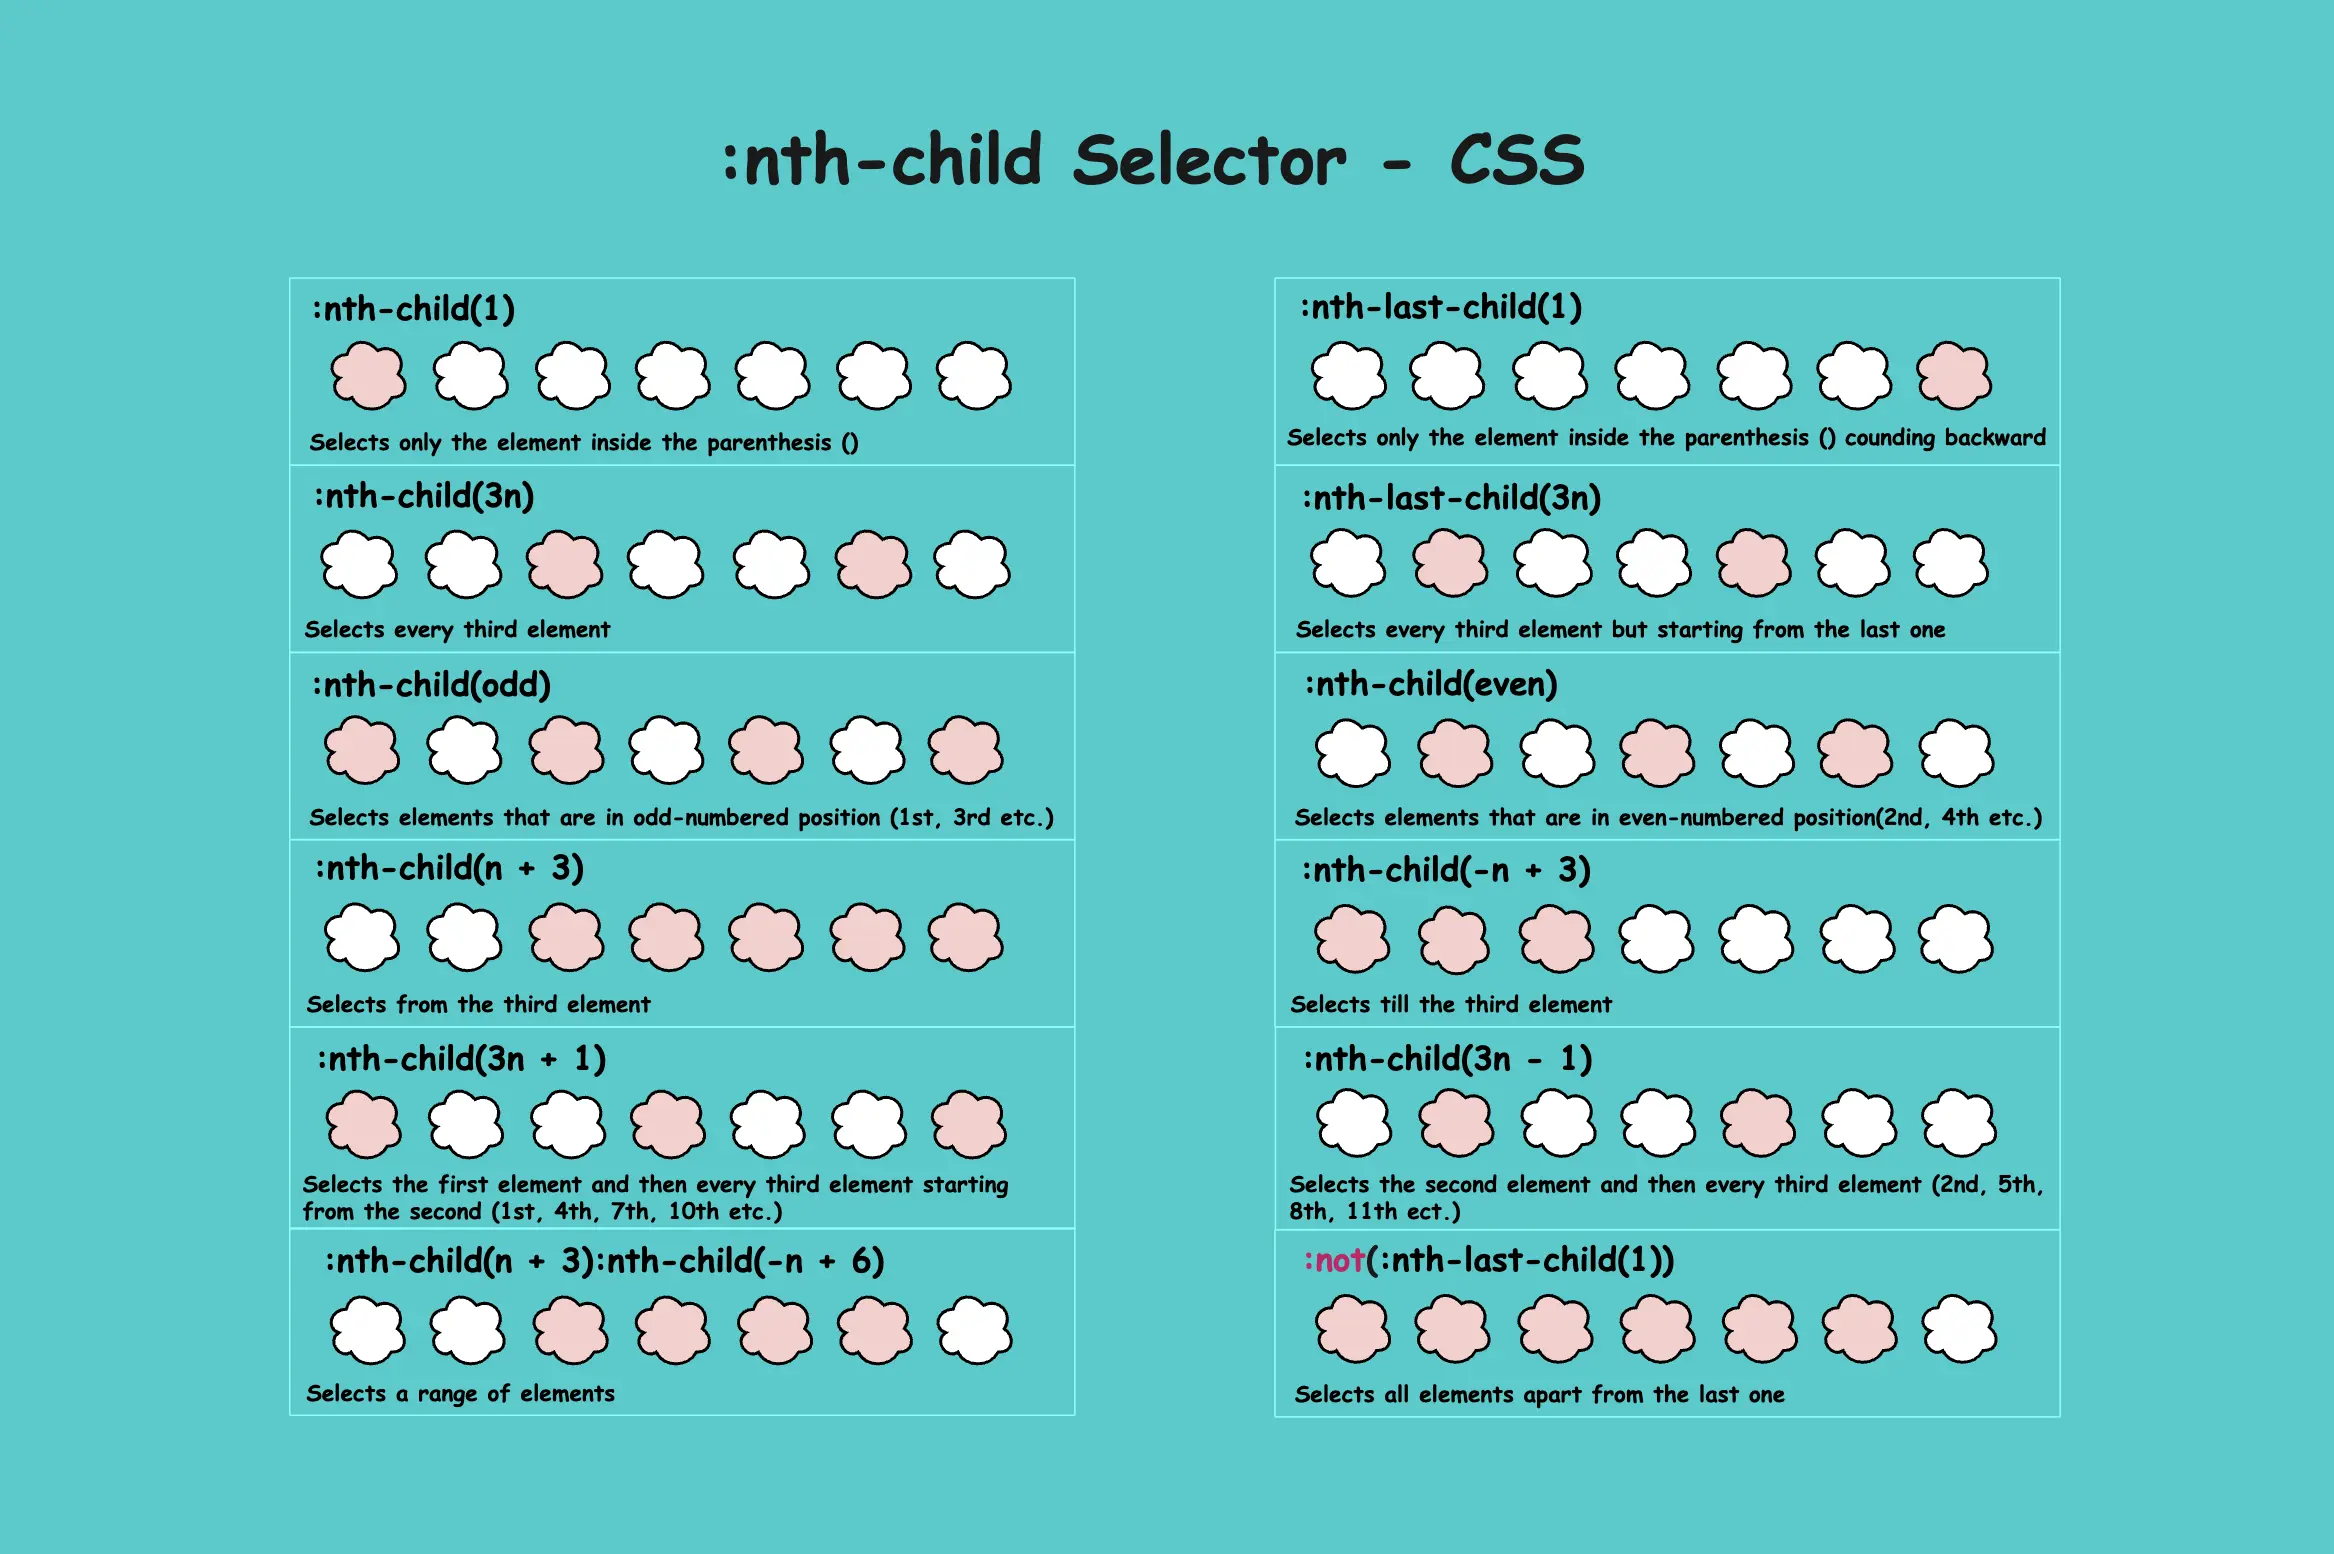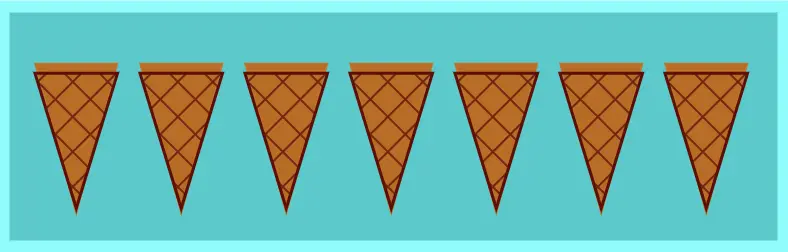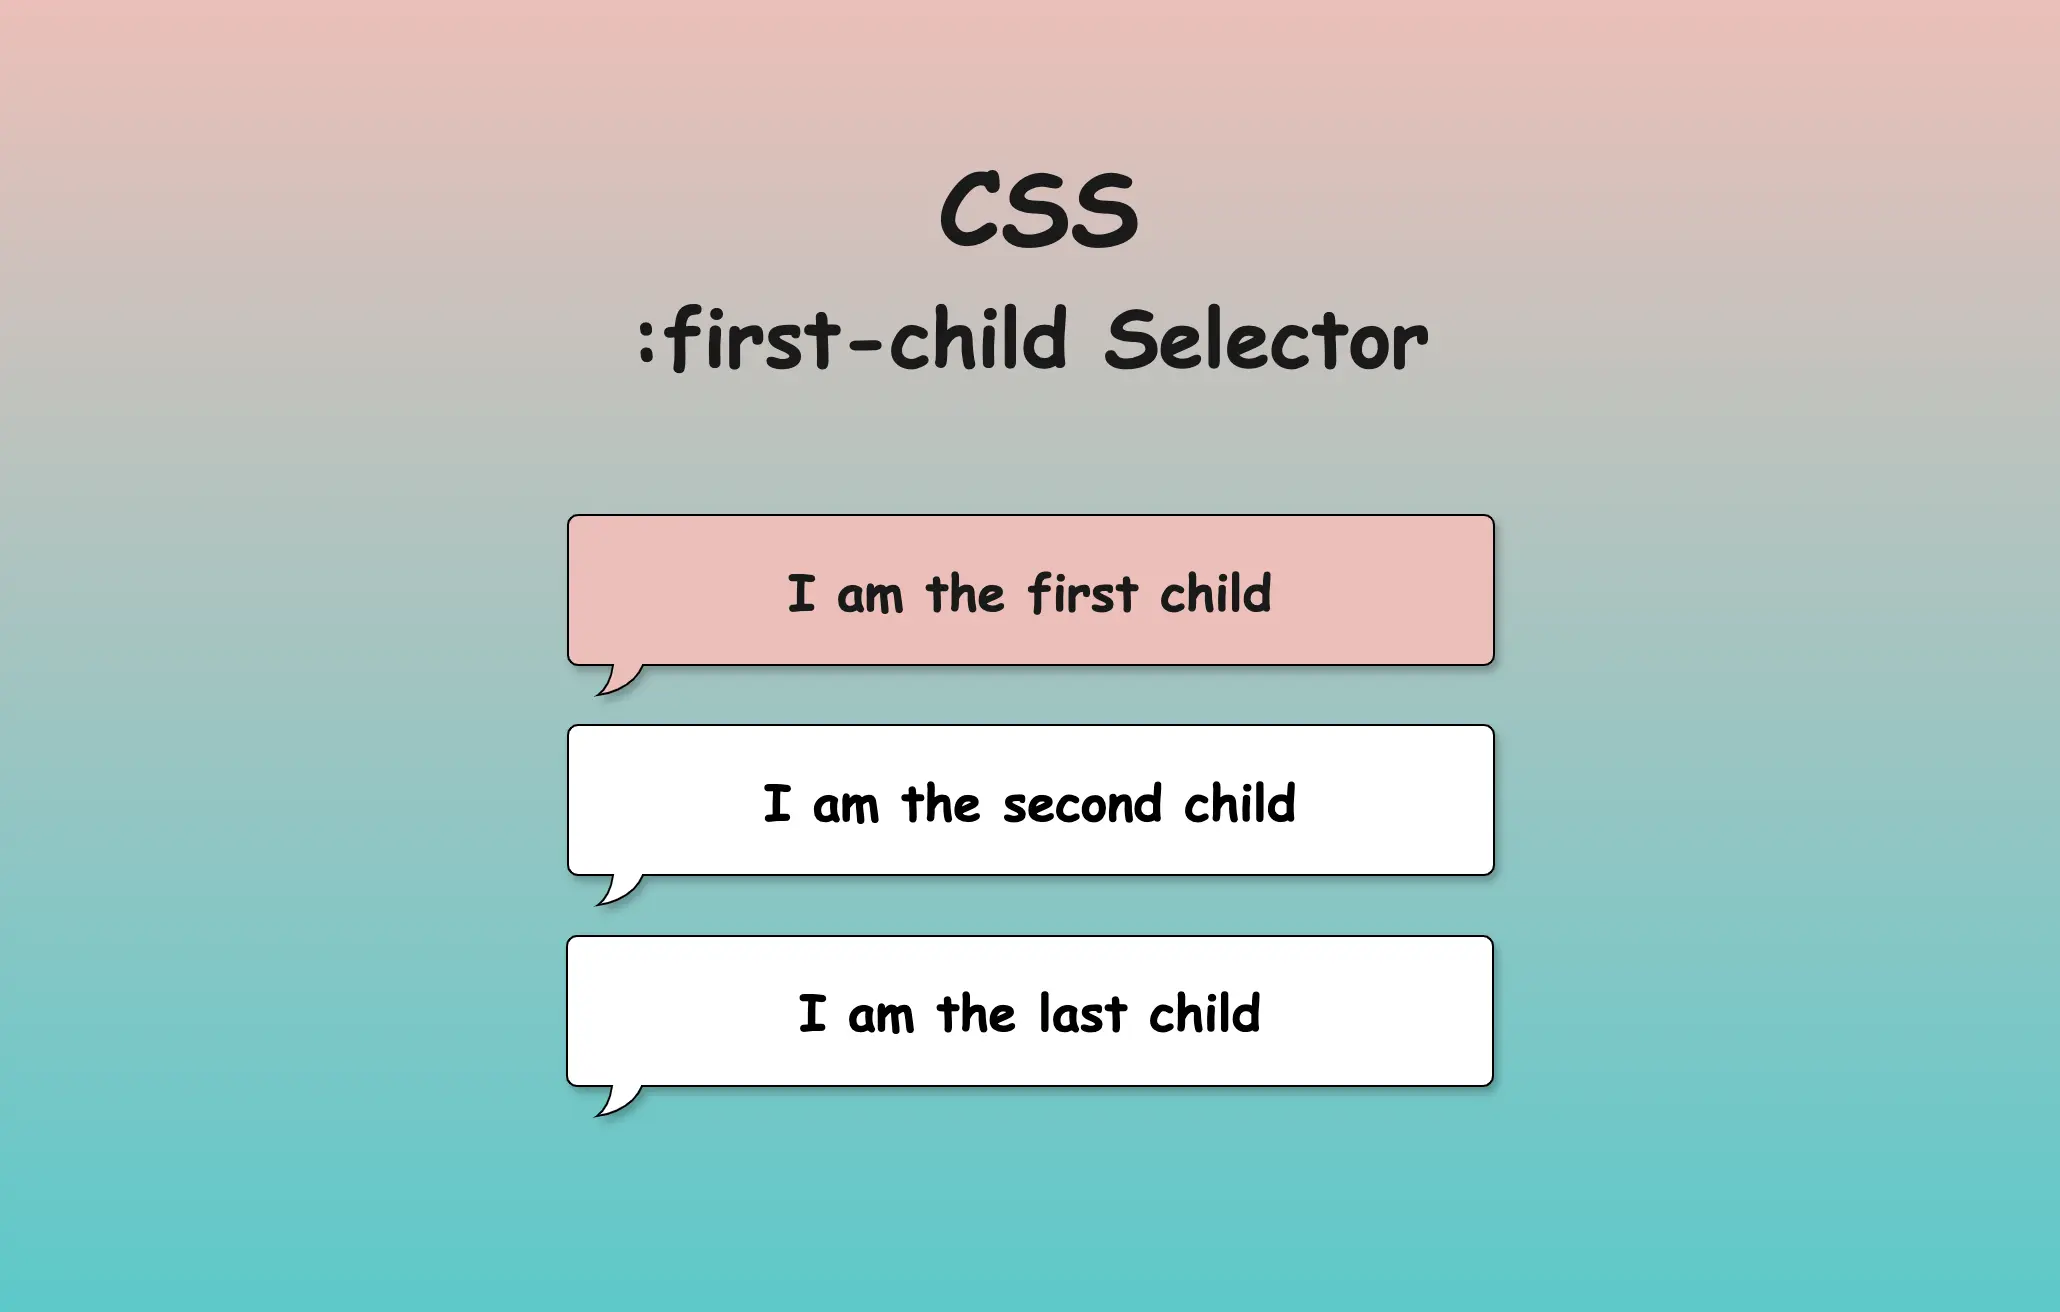
Hello everyone! In this post, we will explore the CSS last child selector, one of the most useful selectors in CSS. We use the CSS last-child selector when we want to target and modify only the last element of the same type. By types of elements, we mean HTML tags like paragraphs (<p>), headings (<h1>, <h2> …), lists (<li>) and others.
Typically, we use the CSS last-child selector with list items <li>, but it can be applied to any type of element. I have prepared some examples to help you understand how to use the selector based on your needs.
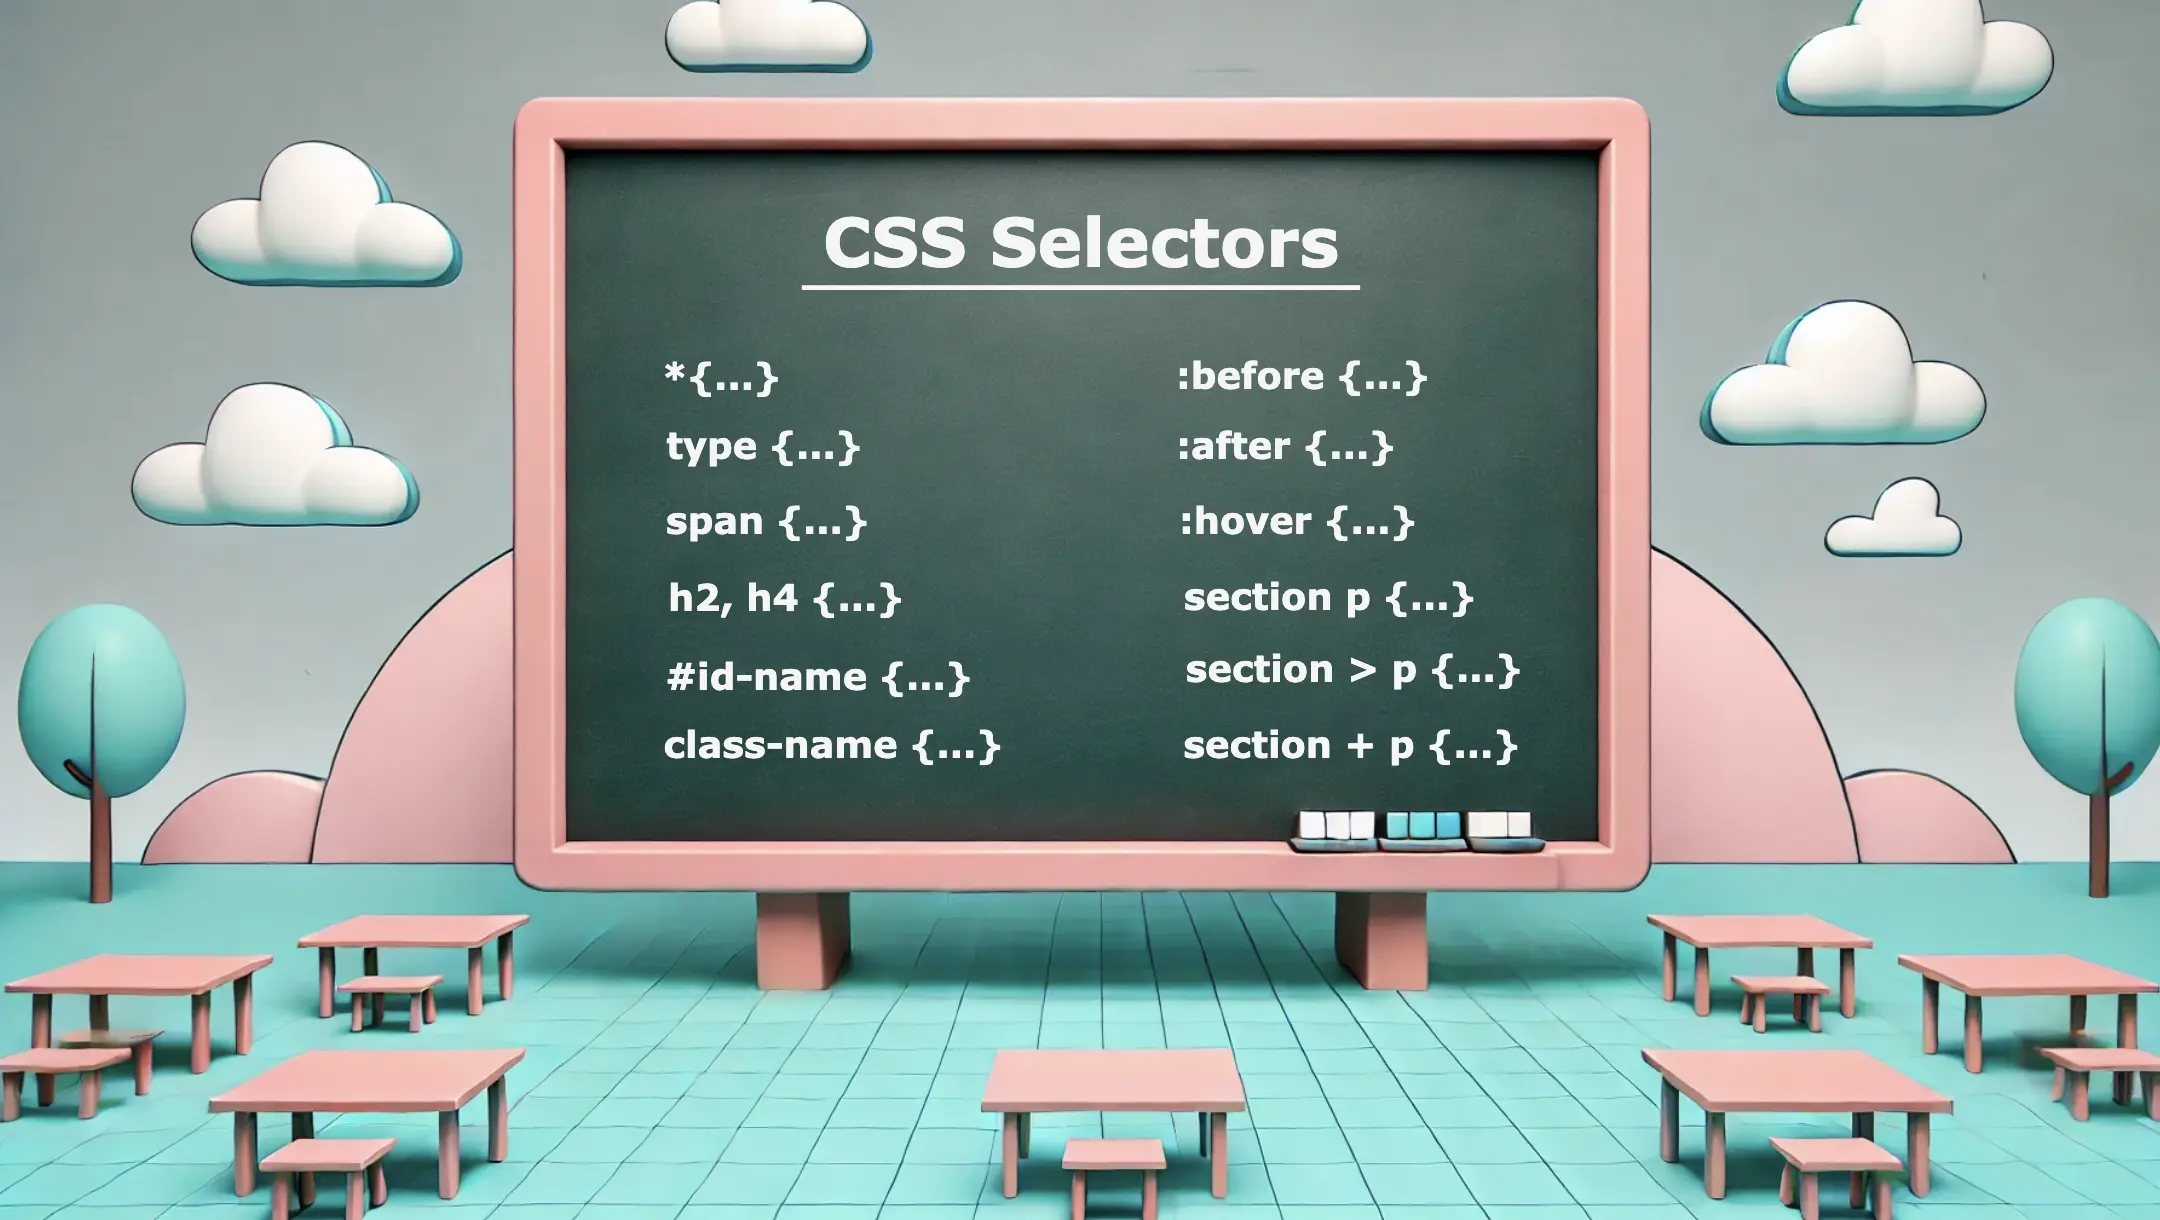
How to use the CSS last child selector for list elements
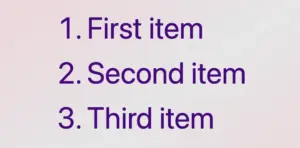
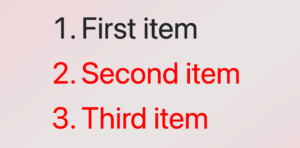
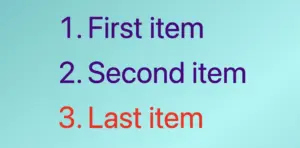
In the example below, the HTML structure includes an ordered list (<ol>) with three list items (<li>), all colored indigo.
<ol>
  <li>First item</li>
  <li>Second item</li>
  <li>Last item</li>
</ol>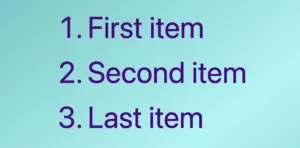
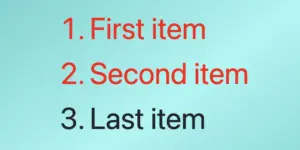
We continue by adding the CSS rule, which selects only the last item and applies a red color to it.
/* Applies indigo color to all list items */
li {
color: indigo;
}
/* Applies red color only to the last list item */
li:last-child {
color: red;
}
/* OR */
li:nth-last-child(1) {
color: red;
}
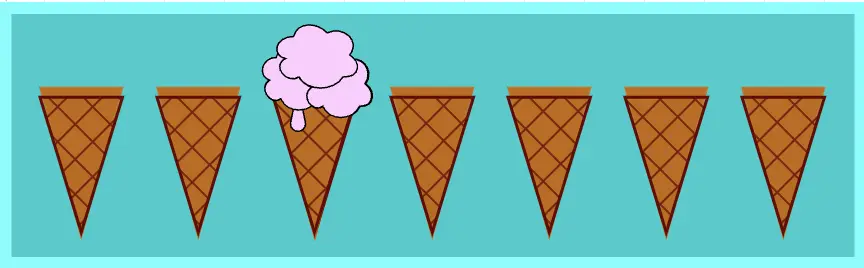
When using the :last-child selector in CSS, it targets the last element within its parent. When we add a new item to the end of the list, this new item becomes the last child of the list, and the previous first item now becomes the second one from the end. This change causes the :last-child selector to now target the newly added item instead.
Applying the CSS last child selector to non-list elements
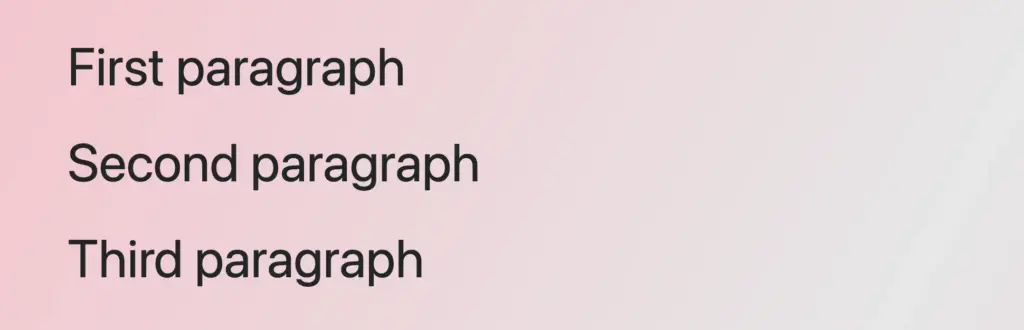
In the following example, we will use the last child selector for paragraphs. The HTML structure contains a <div> which enclose three paragraph (<p>) elements. By default, all HTML elements have black text color, so paragraphs will appear in black.
<div>
<p>First paragraph</p>
<p>Second paragraph</p>
<p>Last paragraph</p>
</div>
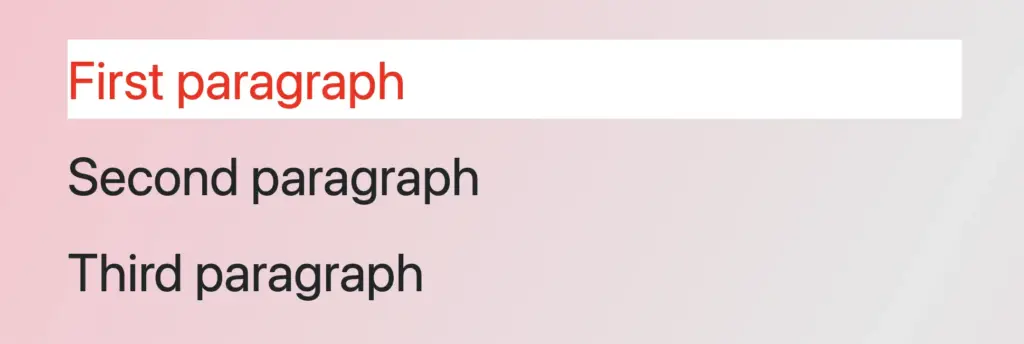
By setting the CSS last child selector, it selects the last <p> element and applies the text color red to a white background. As a result, the last paragraph appears in red with a white background, while the subsequent paragraphs keep their default styling.
/* Applies red color and background white
to the last paragraph
*/
p:last-child {
color: red;
background-color: white;
}
/* OR */
p:nth-last-child(1) {
color: red;
background: white;
}


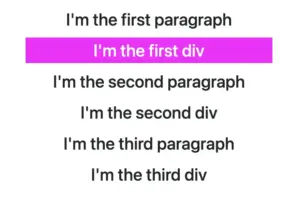
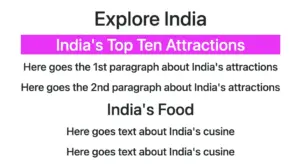
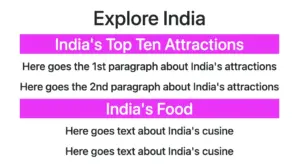
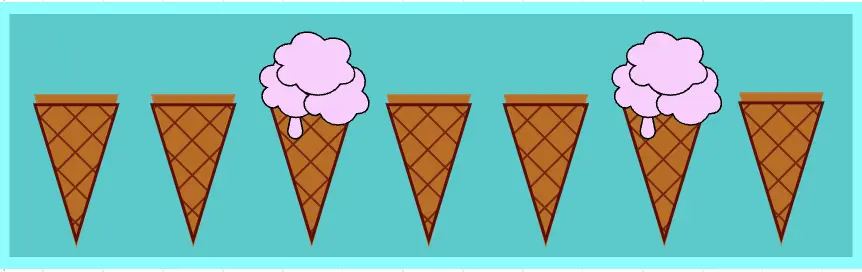
Using the last child selector across multiple parent containers
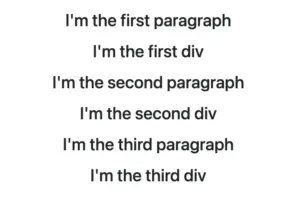
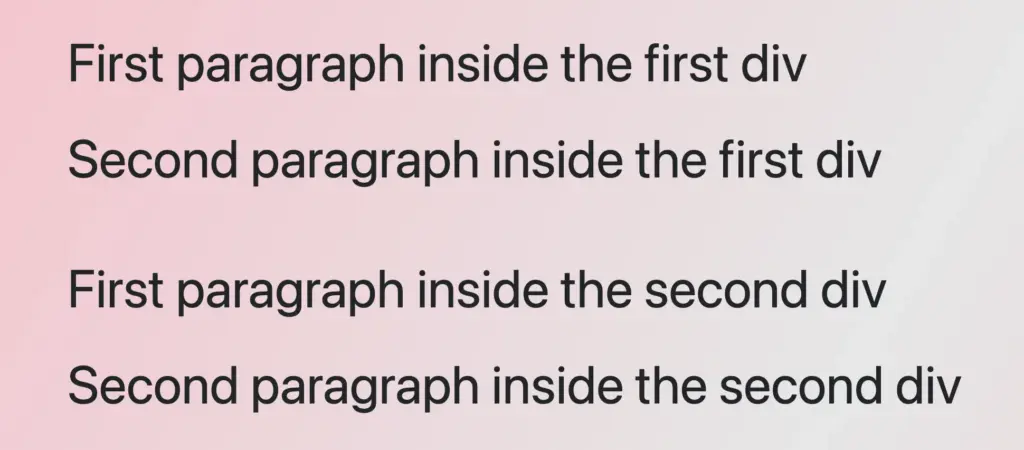
In this example, we will examine another case, as many times, we have multiple HTML elements to work with within a document. Here, we have two div elements, each containing two paragraph (<p>) elements colored black.
<div>
<p>First paragraph inside the first div</p>
<p>Last paragraph inside the first div</p>
</div>
<div>
<p>First paragraph inside the second div</p>
<p>Last paragraph inside the second div</p>
</div>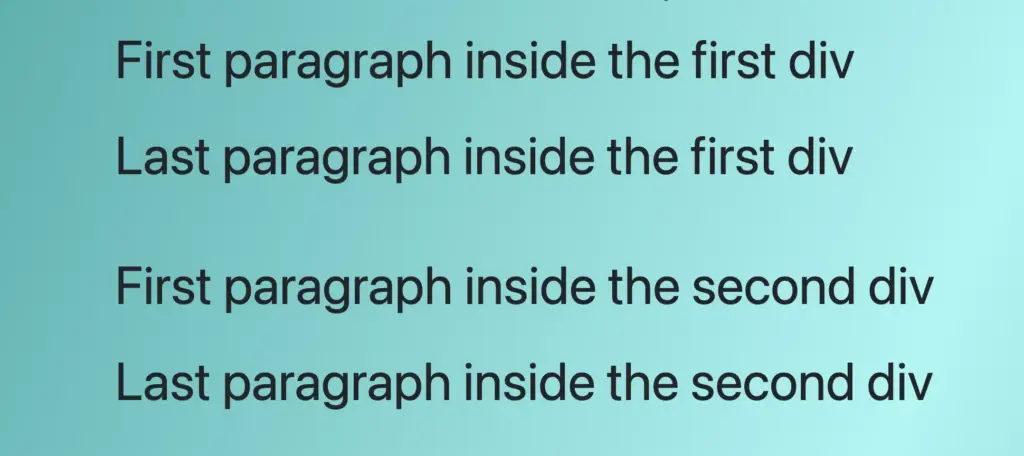
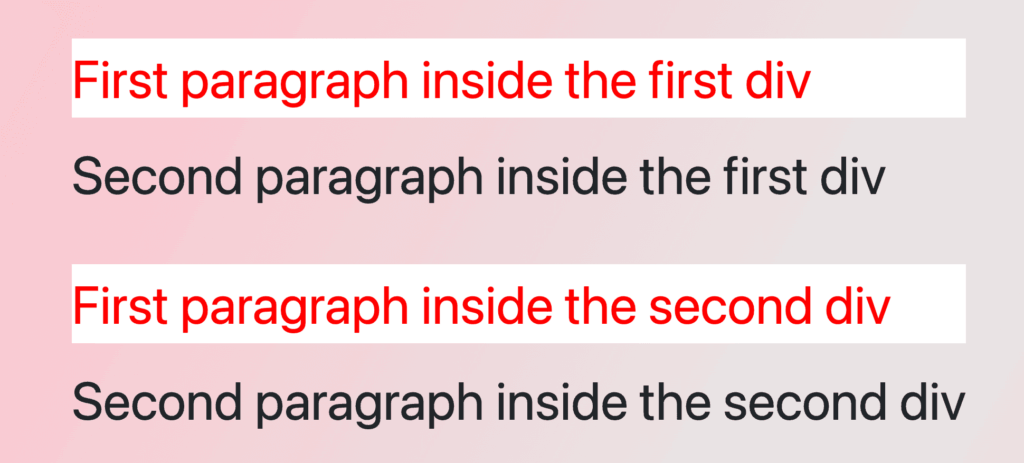
The CSS rule div p:last-child selects the last <p> element within any <div> and applies the specified styles to it.
/* Applies red color and white background
to the last paragraph inside each div
*/
div p:last-child {
color: red;
background-color: white;
}
/* OR */
div p:nth-last-child(1) {
color: red;
background-color: white;
}
As a result, the last paragraph of each <div> will display in red with a white background.
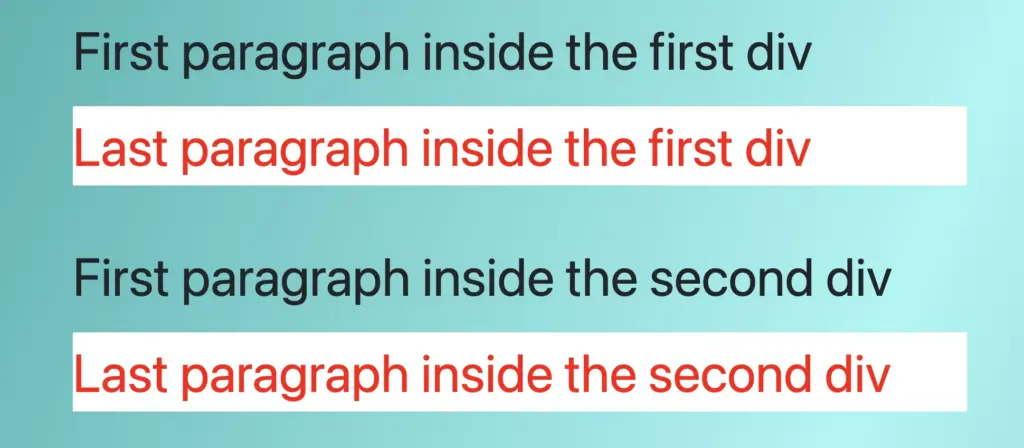
Meanwhile, the remaining paragraphs will keep their default styles. This demonstrates how the :last-child selector can be used to style the last element within several parent containers. 😉
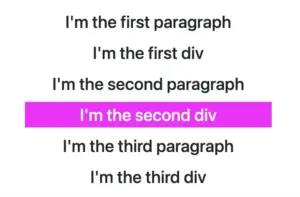
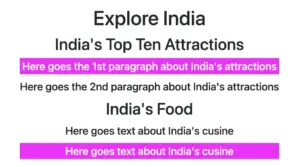
Selecting the last child inside the first parent element
In this example, we have two <div> elements, each containing two paragraph <p> elements colored black as in the previous one, but this time, we will examine how we can select only the last paragraph inside the first div.
<div>
<p>First paragraph in the first div</p>
<p>Second paragraph in the first div</p>
</div>
<div>
<p>First paragraph in the second div</p>
<p>Second paragraph in the second div</p>
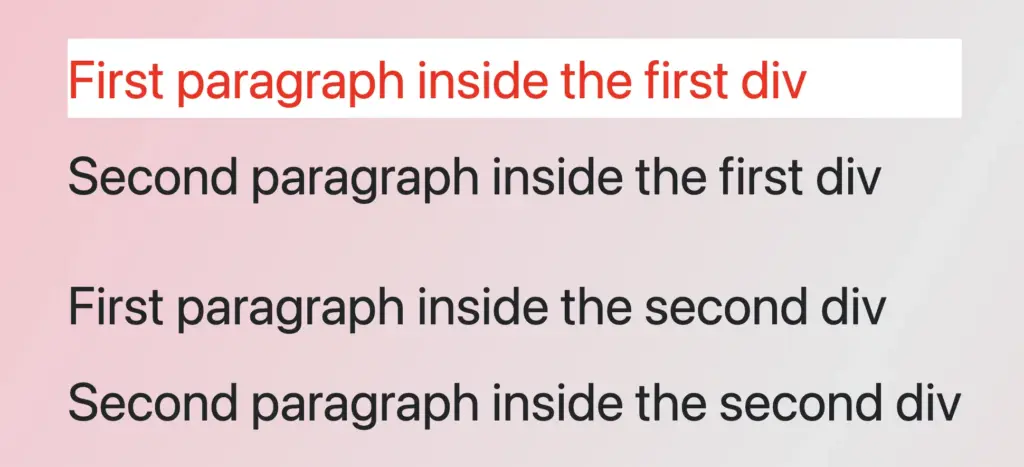
</div>The CSS rule div:first-child p:last-child selects only the first paragraph <p> within the first div and applies the specified styles to it.
/* Applies red color and white background
to the last paragraph of the first div
*/
div:first-child p:last-child {
color: red;
background-color: white;
}
/* OR */
div:nth-child(1) p:nth-last-child(1) {
color: red;
background-color: white;
} Therefore, the last paragraph in the first div will be shown in red with a white background, while the second paragraph will remain in its default black color.

The second div, is not influenced at all by the styles applied to the first div, demonstrating selective styling implementation. 😉 This method is particularly useful for assigning specific styles to elements in complex layouts.
Avoiding the last child with the :not(:last-child) selector
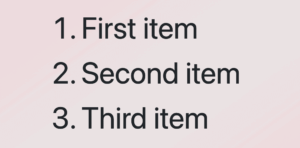
Finally, we will examine the opposite case and how to avoid selecting the last child element. In this example, the HTML structure consists of an ordered list <ol> housing three list <li> elements.
<ol>
  <li>First item</li>
  <li>Second item</li>
  <li>Last item</li>
</ol>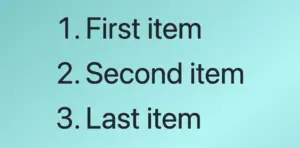
The CSS rule ol li:not(:last-child) selects all <li> elements within the ol apart from the last one and apply the specified styles to them.
/* Applies red color to all paragraphs
   except for the last one
*/

ol li:not(:last-child) {
  color: red;
}As a result, all list items except for the last one will be pictured in red, while the last list item will retain its default color, black.
Alternatively, we can use the CSS nth-last-child selector like this
ol li:not(:nth-last-child(1)) {
  color: red;
}This selector serves a similar purpose, but it is more flexible as it allows for the selection of any child based on its position.